How to Measure your Hot Tub Cover for a Perfect Fit
Looking to Buy? Browse the Pure-Spa Range of Hot Tub Covers
Quick Summary
Getting the right size replacement hot tub cover is crucial for energy efficiency, heat retention, and protecting your spa investment. This comprehensive guide will walk you through the steps to accurately measure your hot tub cover or acrylic shell, helping you avoid the most common sizing mistakes.
Whether you are measuring an existing cover or a bare hot tub, you will learn how to capture width, length, corner radius, skirt length, and fold direction accurately. By following these best practices, you can order a replacement cover that fits first time, saves heating costs, and lasts for years.
Quick Steps
In a rush? Here's a quick overview of the essentials to get you started, for a more detailed explanation, keep reading below.
- Gather your tools: measuring tape, carpenter's square, notepad, and pencil.
- Measure the hot tub shell, not just the old cover, to ensure accurate dimensions.
- Capture the width and length of the shell at the top outer edge.
- Measure the corner radius using a square or straight edge.
- Record the skirt length from the top edge to the bottom of the cover.
- Note the fold direction.
- Double-check all measurements for accuracy.
- When in doubt, ask for help.
Why Accurate Measurements Matter
Energy Efficiency and Effectiveness
A properly fitting hot tub cover is one of the most cost-effective investments you can make for your spa. Research shows that hot tubs lost the majority of their heat through the top surface, and an ill-fitting cover allows that heat and water vapour to escape, forcing your heater and pump to work harder. In turn, this drives up running costs and energy bills. A cover that is even half an inch too small exposes the shell to the elements, accelerating chemical evaporation, and wastes water through constant top-ups. On the other hand, a cover that is too large can catch the wind, prevent the skirt from sealing correctly, and looks untidy.
Cost and Convenience
As hot tub covers are large and heavy, returning an incorrectly sized cover can be costly, and a hassle to orchestrate. Additionally, made to measure covers are often expensive and non-returnable, so errors in measurement can lead to significant costs. By taking an extra 10 minutes with a measuring tape and a carpenter's square, you can save yourself from an expensive mistake, ensuring your new cover delivers the insulation, safety, and longevity you expect.
Preparation: Gather Your Tools
Before you start measuring, make sure you have the right tools on hand. You will need a:
- Measuring Tape
- Carpenter's Square*
- A Notepad
- Pen/Pencil
- Our Hydrospares Radius Measuring Printable
If you don't have a carpenter's square, you can substitute with a straight edge — such as a ruler or piece of wood — plus a second tape measure or ruler to capture the radius distance.
Step 1: Measure Width and Length
Using a tape measure, find the width of your hot tub from one outer edge of the acrylic shell to the opposite edge. Let the tape float loosely over the edge to ensure you are capturing the widest point, especially if the shell curves outwards at the top. Record this measurement (W). Measure length in the same way.
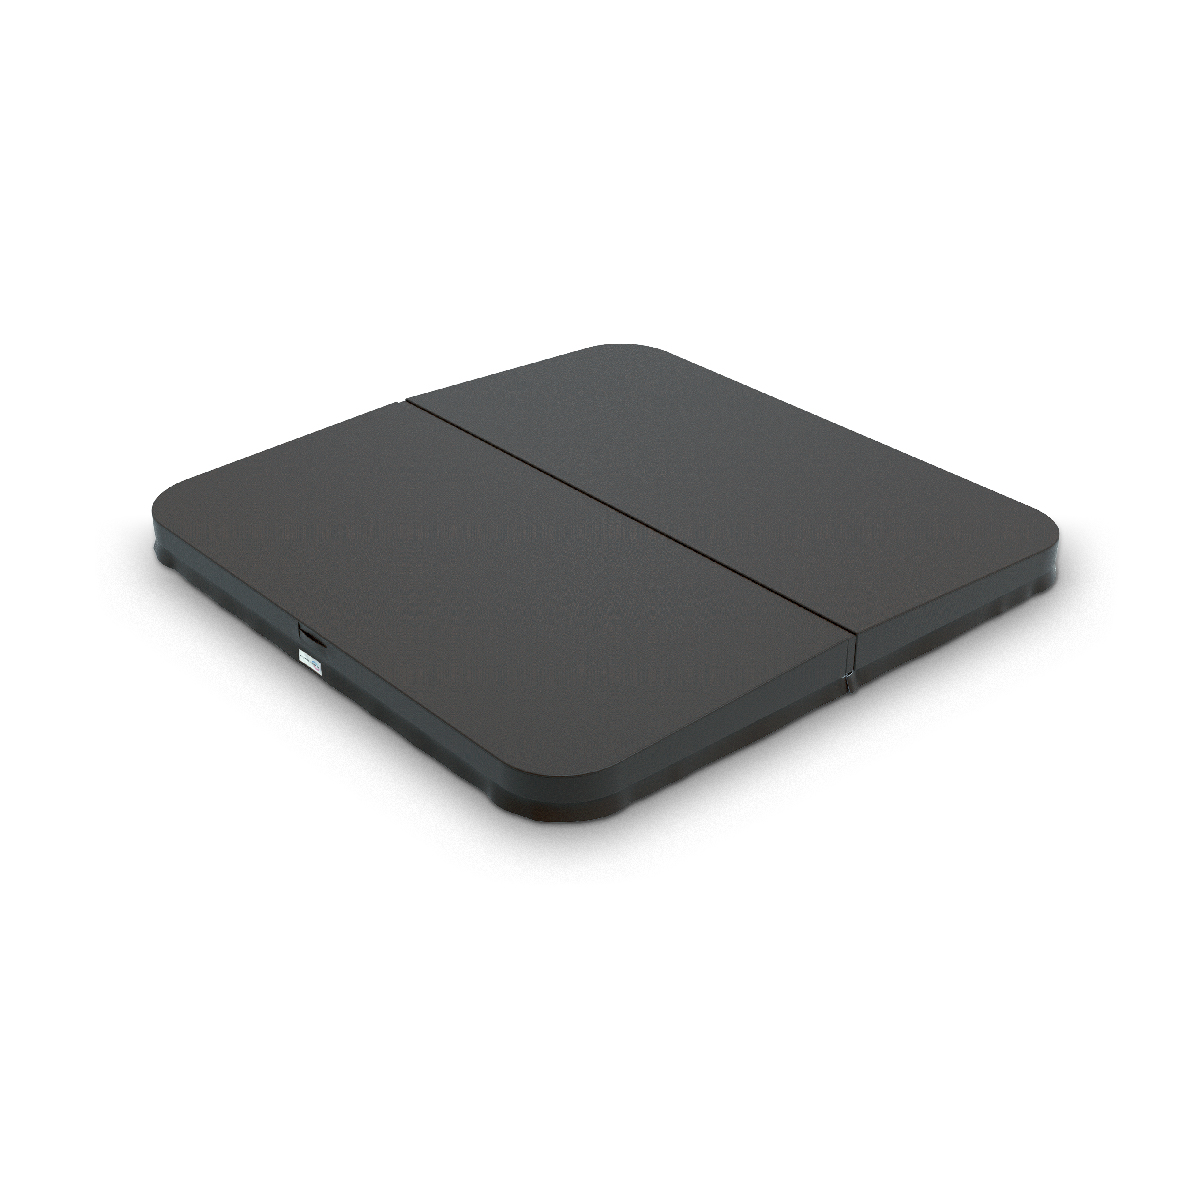
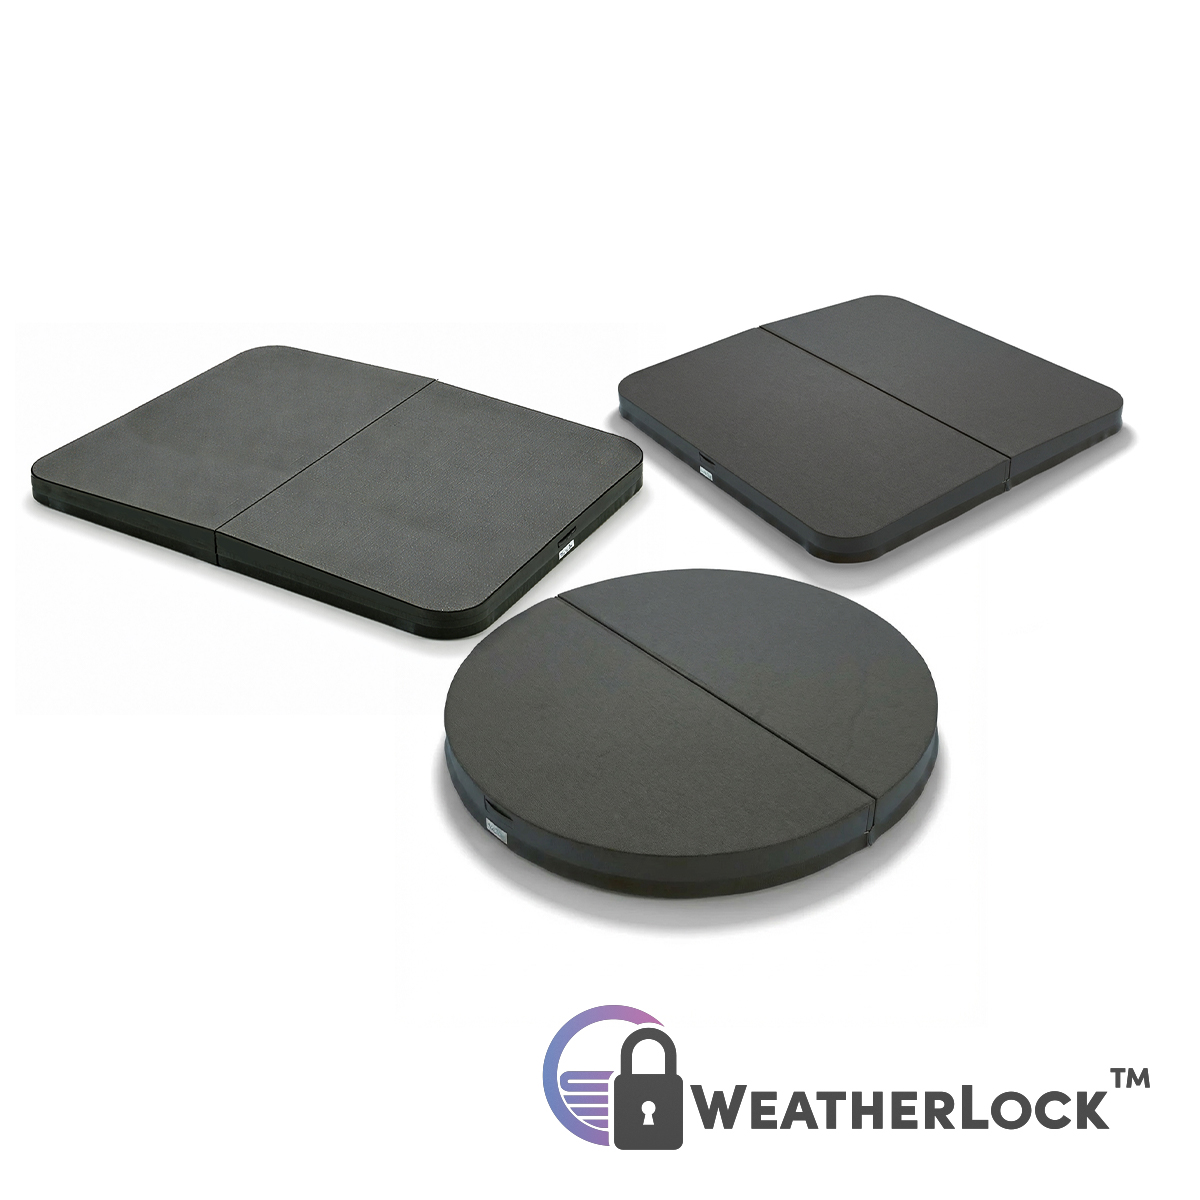
If length and width are identical, you can be confident that your hot tub is square, if irregular then you'll be shopping for a rectangular cover. Make a note of which dimension runs along the sides where you want the cover to fold open, as this can vary on cover designs.
For round covers, measure the distance edge to edge through the centre point.
No Existing Cover? Measure the Acrylic Shell Directly
If your old cover is missing, too warped to use, or you are ordering a cover for a newly installed hot tub, you can measure the acrylic shell itself using exactly the same principles. Make sure to take any features in to consideration, as the hot tub cover must be sized to fit over the entire unit.
Step 2: Measure Cover Thickness and Taper
Most hot tub covers are tapered, meaning they are thicker in the centre and thinner at the edges, so water runs off rather than pooling in the middle. Measure the thickness at the thickest point and note this number.
Next, measure the thickness at the thinnest point. This taper measurement helps ensure your replacement cover matches the original design for optimal water run-off and durability.
In most climates a cover thickness of 4 to 2 inches (100 to 50 mm) is conventional, but in regions with heavy snow or extra insulation is needed, 5 to 3 inches (125 to 75 mm) might be needed. You can use your current cover as a guide.
If your current cover has degraded, is waterlogged, or is sagging, you might benefit from a thicker replacement, higher density foam, or a cover with inbuilt features that counter these issues.
Whilst a more robust cover may cost more upfront, the longevity gained will save you money in the long run, with additional savings on heating costs.Step 3: Measure Corner Radius
The corner radius is where most people make mistakes, and getting it wrong means your new cover will either not fit at all or will have unsightly gaps at the corners that allow heat to escape.
The radius is the distance from the where the straight edge of the cover or shell begins to curve to the imaginary square corner point. To measure this, place your carpenter's square tightly against the corner of the shell or existing cover, with the inside right-angle edges of the square flush against the straight sides. Look along the ruler marking on the square to see where the curve first touches the ruler. This point is the corner radius. Record this measurement (R).
If you do not have a carpenter's square, you can use a straight edge, such as a ruler or a piece of wood. Place the straight edge against one side of the corner, extending beyond the curve, then measure from the end of the curve to the straight edge at 90 degrees. This gap is your radius.
If your measurement falls between standard/available radius sizes, always round down to the smaller size; a smaller radius will fit over the corner, whereas a larger radius will not fit at all.
If your hot tub has square corners with no curve, then the radius is zero.
Step 4: Measure Skirt Length
The skirt is the vinyl flap that hangs down from the outer edge of the cover, hiding the exposed acrylic shell lip whilst providing an extra thermal seal around the cabinet.
Skirt length is measured from the underside of the cover / the top of the acrylic shell, down to the height you would like the skirt to reach. For most hot tubs, an ideal length is from the top of the shell to a point just past the start of the cabinet surround.
If your skirt length is too short, it will not cover the shell lip properly, leaving an unsightly gap and allowing heat to escape. If the skirt is too long, it can bunch up or catch on the cabinet, making closing the cover difficult and causing increased wear over time.
We recommend allowing an extra 0.5 to 1 inch (12 to 25 mm) of skirt length beyond the desired length to account for shrinkage over time.
Step 5: Decide on Hinge Direction and Fold
The hinge direction determines how your cover will fold open and can affect both the usability and aesthetics of your hot tub. As square and circular designs are equilateral and can be fitted with the fold running in either direction, but for rectangular covers, the decision must be made before ordering, as the fold direction is fixed and can impact the ease of use.
Typically, the fold direction runs long the long edge of the cover, but some designs allow for the opposing direction. Consider the layout of your hot tub and the surrounding space, nearby walls and fences, and other nearby features. For example, if you have a wall or fence on one side of the hot tub, you might want the fold to run parallel to that side, so that when you open the cover, it folds away from the wall, making it the spa easier to access.
Additionally, if using a cover lifter, you'll need to consider the fold direction is suitable for the lifter design, and that it's resting position when open does not obstruct access to the spa, and works with the layout of your space.
If you are unsure, consult with your supplier, as they can help you determine the best configuration for your hot tub and space. Taking a moment to consider hinge direction can save you significant frustrations later.
Common Measurement Mistakes to Avoid
-
Measuring the Cabinet Instead of the Acrylic Shell: Ensure you measure the acrylic shell itself, not the outer cabinet, as the cover needs to fit over the shell.
-
Copying the Dimensions of a Warped or Distorted Cover: If your existing cover is warped, sagging, or waterlogged, measure the acrylic shell directly to get accurate dimensions for your replacement.
-
Rounding the Corner Radius Up, not Down: It feels counterintuitive, but it's critical to round the corner radius to a lower value when measuring, as a smaller radius will fit over the corner, whereas a larger radius will not fit at all, leaving the corners of your hot tub open and exposed. i.e, if your measurement reads at 5.3 ", round down to 5 ", not up to 6 ".
-
Not considering the skirt length: A skirt that runs too short will not provide adequate coverage, while a skirt that is too long can interfere with the operation of the cover and cause excessive wear.
-
Neglecting the Fold Orientation of the cover: Ensure you consider the fold orientation, as it can impact the ease of use and accessibility of your hot tub.
Measure carefully, take your time, double (and triple) check your numbers; remember to follow any additional guidance provided by the supplier. Remember to consider every dimension, as a well fitting cover will save you money on heating costs, protect your spa investment, and provide years of extra life for your hot tub.
Neglecting any of the steps above can lead to an ill fitting cover that allows for waste heat, water, santisation chemicals, neglects to protect your spa, looks unsightly, and cause you frustration every time you use your hot tub. Whereas replacing a bespoke cover or a stock cover that's already been fitted can result in significant unnecessary costs and hassle. All it takes is an extra 10 minutes of careful measurement to ensure you get the right size cover that fits first time, and delivers the insulation, safety, longevity, and satisfaction you expect.
How to Maintain your Cover for Maximum Lifespan
Once you have your new, perfectly fitted hot tub cover, it's important to maintain it properly to ensure it lasts for years to come whilst maximising its performance.
-
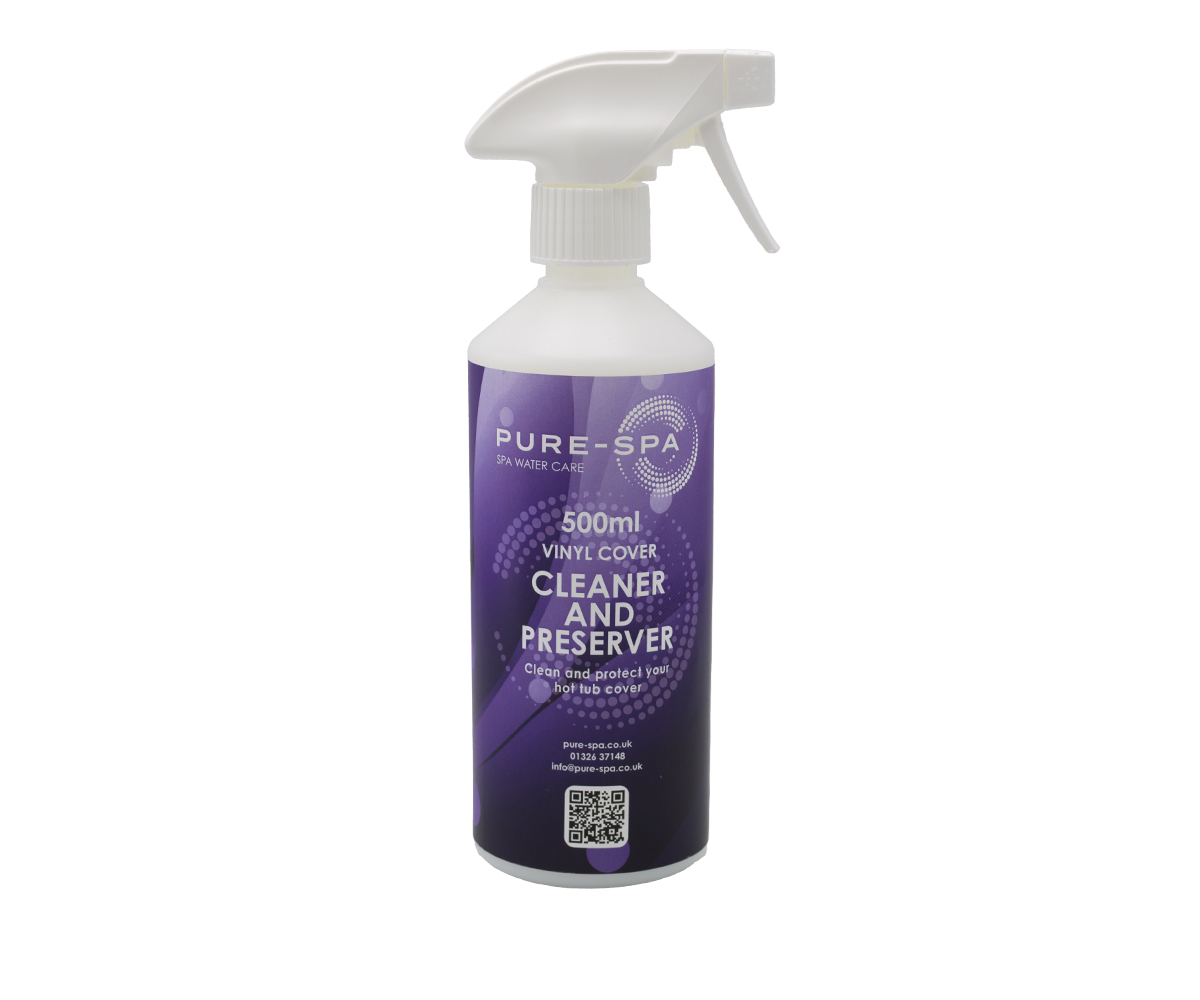
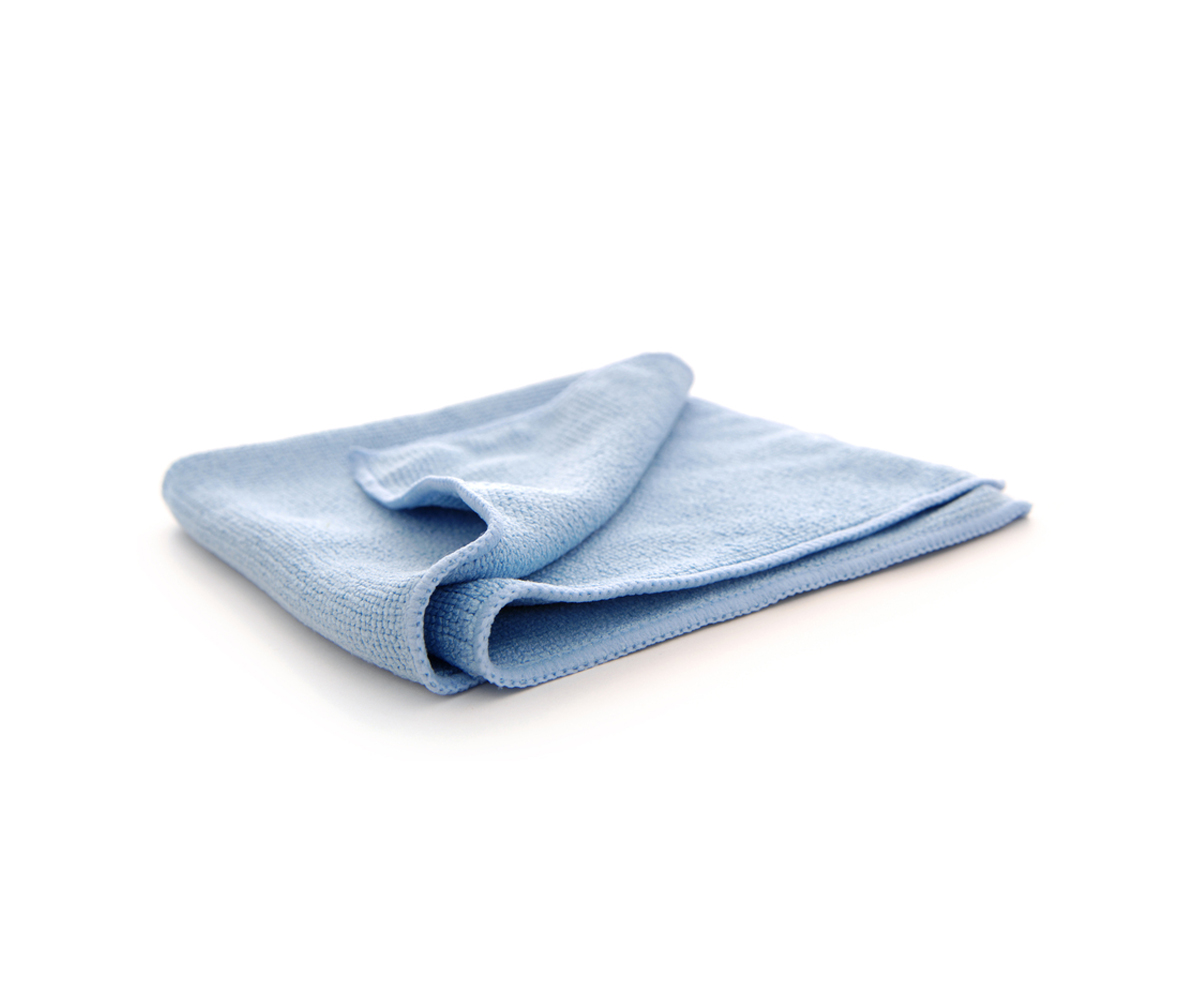
Regular Cleaning: Clean your hot tub cover regularly, roughly once a month with a dedicated spa cover cleaner, or a mild soap solution. Then rinse thoroughly with clean water, and allow it to dry before closing. This prevents the buildup of dirt, oils, and chemicals that can degrade the vinyl and foam over time. Avoid harsh detergents, bleach of abrasive scrubbing pads, as these can damage the UV protection layer on the vinyl, and damage the vinyl layer itself.
For standard vinyl covers, we recommend the Pure-Spa Vinyl Cover Cleaner, a product specifically formulated cleaner for spa covers that help maintain its appearance and durability. For canvas builds, a simple soap solution is currently the best option, but a dedicated solution is currently being manufactured especially for this purpose.
-
Treat Vinyl Covers with a Conditioner: Use a vinyl conditioner specifically designed for spa covers around half as often as you clean, this helps to mitigate cracking and fading, especially in sunny climates with high UV exposure.
-
Clear Debris and Snow: Regularly clear leaves, branches, and other debris from the cover to prevent surface damage, and water pooling. In snowy climates, remove any snow accumulation promptly to prevent excessive weight on the cover, which can cause sagging and damage to the core.
-
Use a Cover Lifter: Whilst a hot tub cover is the single most important accessory for protecting your spa, a cover lifter is the most important accessory for protecting your cover. In addition to making the cover easier to open and close, a cover lifter helps to prevent damage to the cover by keeping it off the ground, which inevitably leads to scratches and scuffs to both your cover and your acrylic hot tub. All it takes is one stone or stick to puncture the vinyl, and once the cover is compromised, water can enter the core, leading to waterlogging, sagging, and a significantly reduced lifespan and effectiveness.
If it's not possible to use a cover lifter, make sure to always place the cover on a clean, flat surface when open, and avoiding rough ground, gravel, and any sharp objects. Additionally, when moving the cover, avoid dragging it across the ground, and instead lift it with the help of another person if needed, employing proper lifting techniques to avoid injury and damage to the cover and yourself.
-
Use a Cover Cap: In areas with high UV exposure, consider using a cover cap or protective cover over your hot tub cover when not in use for extended periods. This provides an additional layer of protection against sun damage, helping to prevent degradation of the cover's surface and prolonging its lifespan.
-
Check condition of locking straps and clips: Periodically inspect the locking straps and clips on your hot tub cover for signs of wear or damage. Replace any worn or broken straps promptly to ensure your cover remains securely fastened, protecting it from being lifted by strong winds and preventing unintended access to the hot tub, especially important if children might be able to access the spa.
Final Checklist
- Measure the acrylic shell
- Record Width (W) and Length (L) at the widest points.
- Add a an allowance for fitting and clearance of around 1/2” (12 mm).
- Measure the radius of the corners using a carpenter square or straight edge., and round down to the closest available size option
- For the skirt, measure from the highest point of the acrylic shell to a point slightly over the cabinet.
- For the skirt, measure from the highest point of the acrylic shell to a point slightly over the cabinet.
- Consider the fold direction based on your space and layout.
- Note strap positions of your existing cover and hot tub, often replacement straps will be needed.
- Note strap positions of your existing cover and hot tub, often replacement straps will be needed.
- Double and triple check your measurements, consult with a capable friend, the supplier, and/or a professional fitter if needed.
Conclusion:
By following the outlined measurements steps carefully and accurately, you can ensure a well-fitting and effective hot tub cover that protects your investment and enhances your spa experience, minimising the cost of heating, chemicals, and maintenance over time whilst significantly extending the lifespan of your hot tub cover.
By following the outlined measurements steps carefully and accurately, you can ensure a well-fitting and effective hot tub cover that protects your investment and enhances your spa experience, minimising the cost of heating, chemicals, and maintenance over time whilst significantly extending the lifespan of your hot tub cover.
If your current cover has degraded, is waterlogged, or is sagging, you might benefit from a thicker replacement, higher density foam, or a cover with inbuilt features that counter these issues.
Whilst a more robust cover may cost more upfront, the longevity gained will save you money in the long run, with additional savings on heating costs.
Additional Upgrades
...